13. Windows: Install IntelliJ
Install IntelliJ (Windows)
This text contains the most up-to-date installation instructions for installing IntelliJ as of June 2016.
1. Install IntelliJ
We’ll be using IntelliJ for the rest of this class. So, let’s download and install it first!
Download IntelliJ from this website.
This is the JetBrains website, and JetBrains is a company that aims to provide developers with helpful tools.
Once you get to this page, make sure the Windows version is selected, choose the free Community version, and click Download.
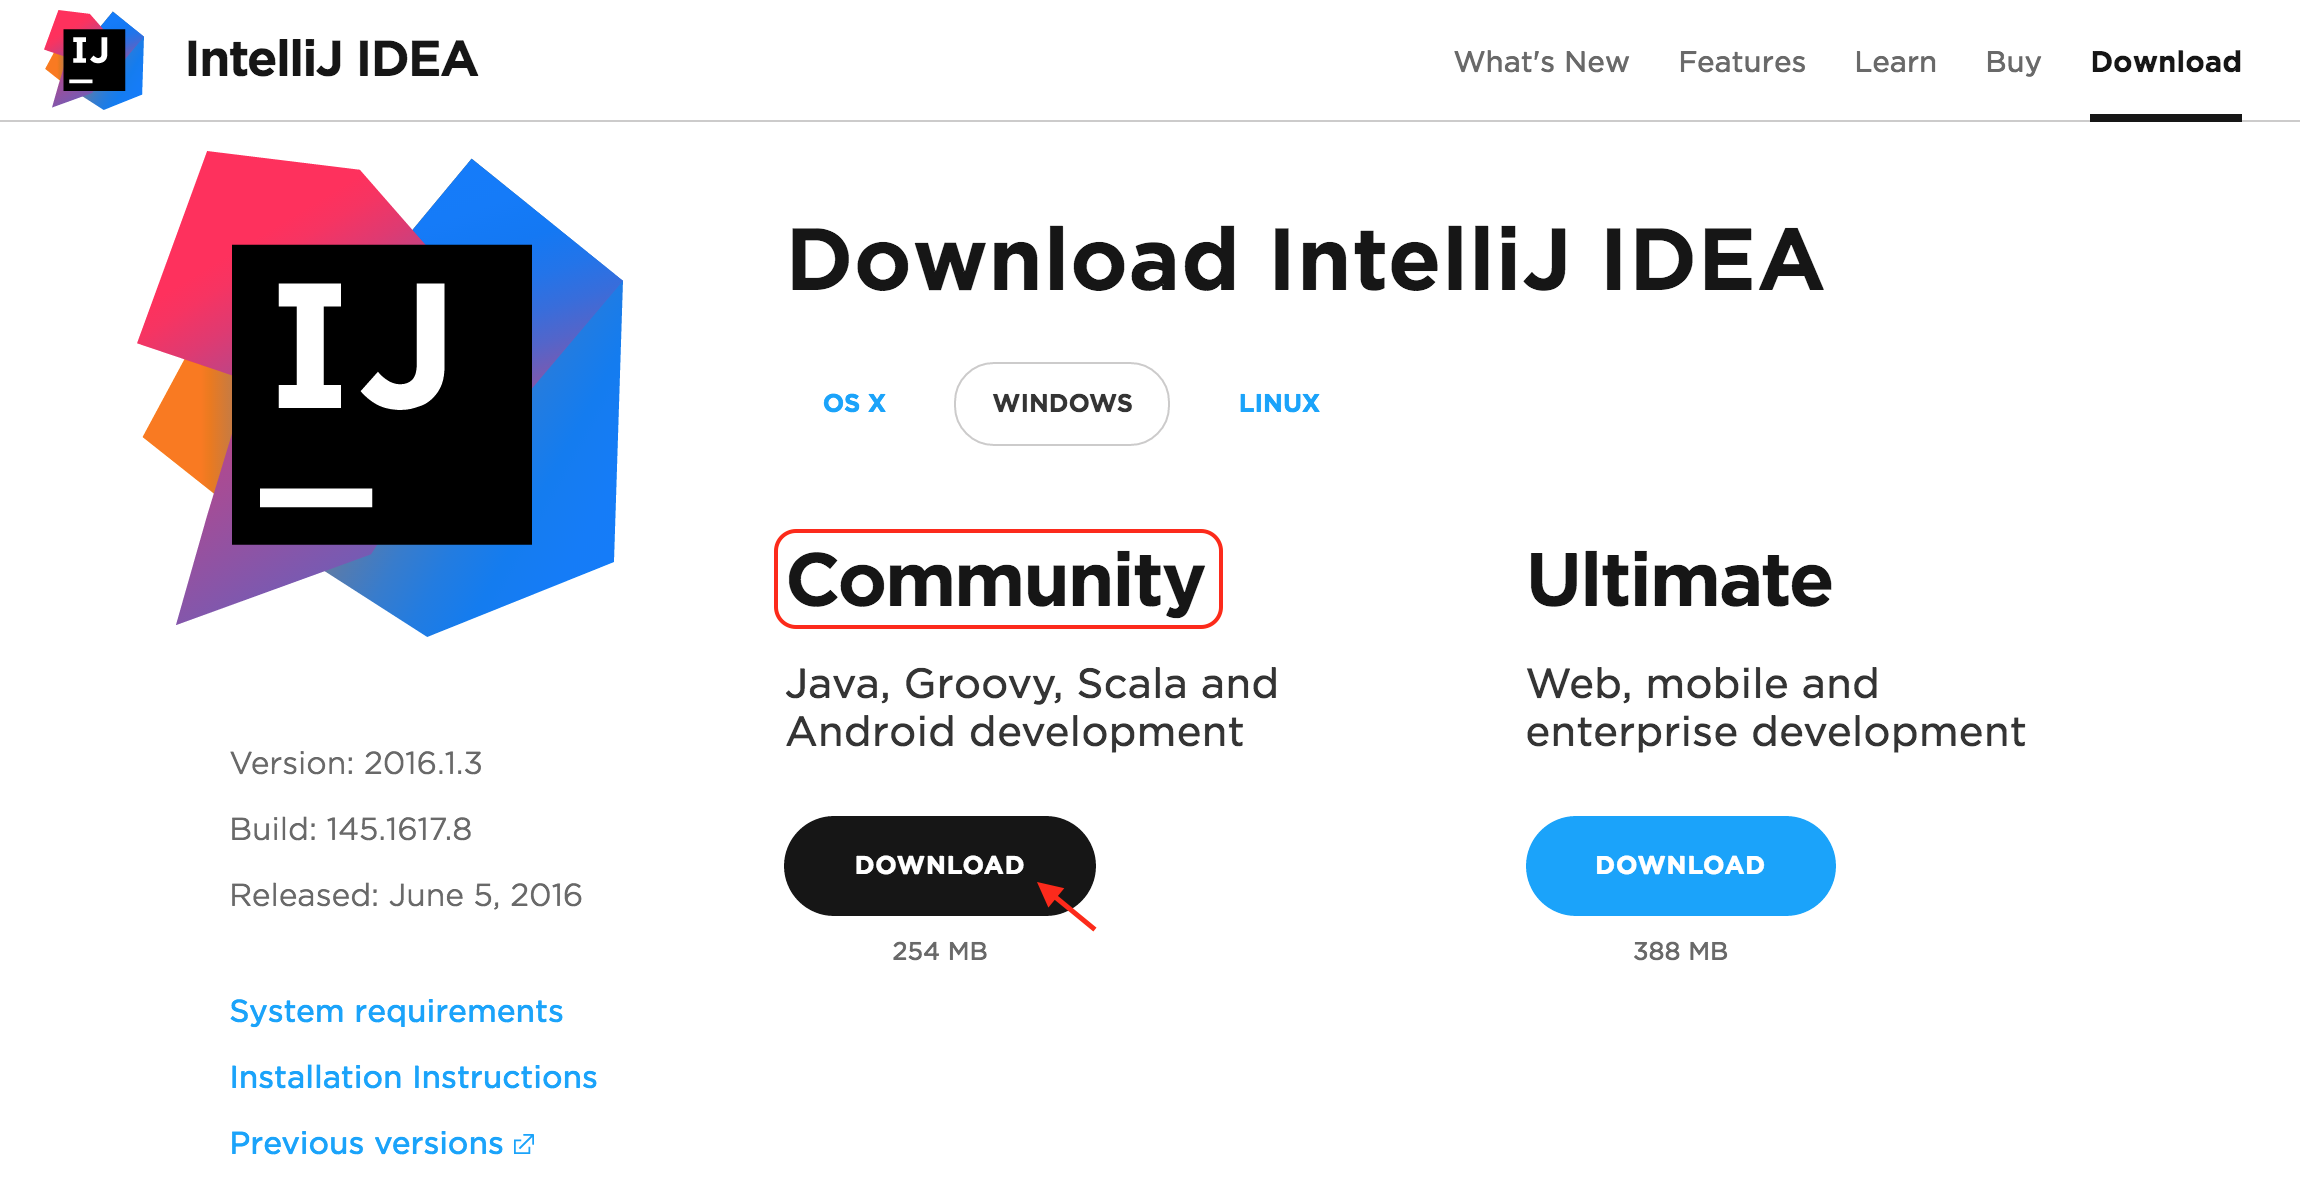
There are two versions of IntelliJ: Community and Ultimate. The Community version has all the tools we’ll need to write our own Java programs and it’s free!
And you should see a downloading file pop up at the bottom of your screen. After the download finishes, click on it to open it and start the installation.
2. Setup Wizard and Installation Location
You may be prompted with a pop-up window that asks "Do you want to allow this app to make changes to your PC?" If you are, select Yes and move on.
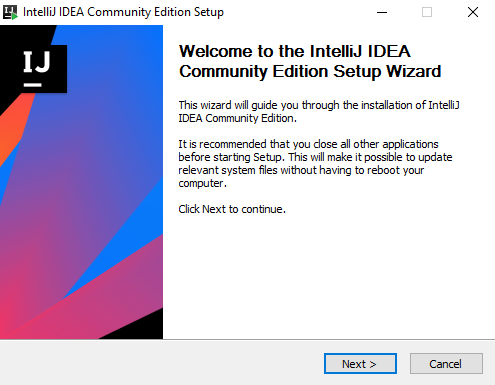
Next, you should see a Setup Wizard window appear, which will guide you through the installation process. Click Next here.
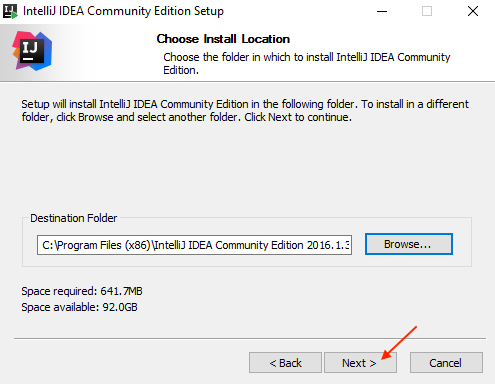
Then choose the destination folder for this installation. The setup wizard will pick a default location, and this should be the correct location in your computer's Program Files. Take note of this location, and click Next.
3. Choose Installation Options
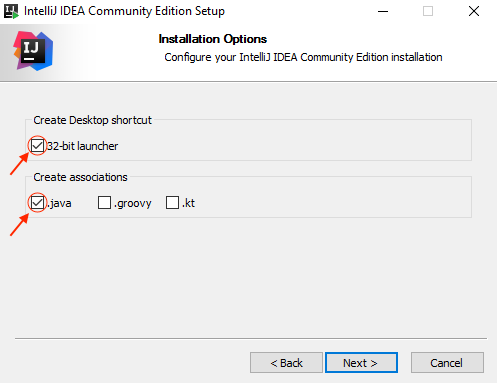
Next you will be asked about Installation Options. These are optional steps, but to make IntelliJ easier to find and to make it your default Java text editor, I recommend selecting 1) that a Shortcut be made, and 2) that .java files will be opened using IntelliJ.
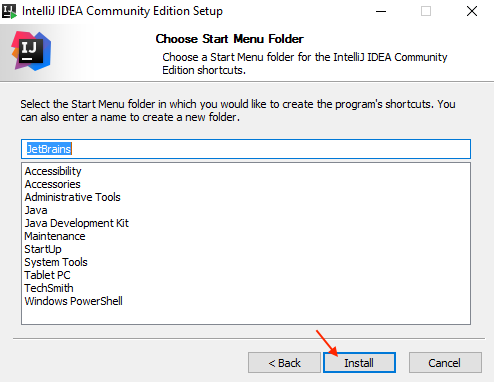
Then select the name for your shortcut - you're Start Menu folder - if you've chosen to create one, and click Install.
4. Complete the Setup Wizard
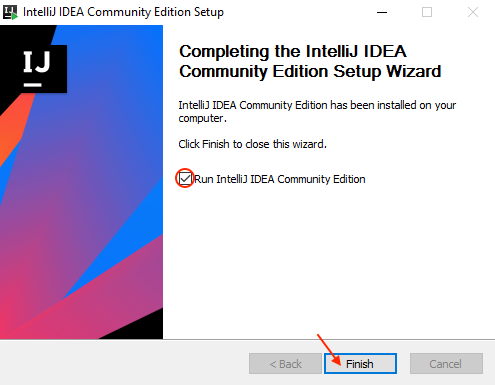
Finally, select Run IntelliJ and click Finish to complete the installation and open up an IntelliJ window!
5. Complete Installation
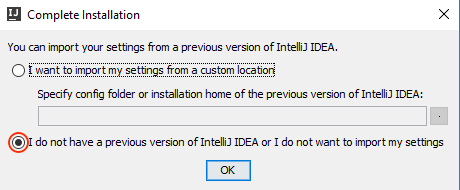
Great, you're almost done with the installation process!! Next, you'll be asked if you want to import settings from a previous version of IntelliJ. Since this is your first version, and you want to start without any custom settings, choose I do not have a previous version of IntelliJ.. and click Okay.
You will also be asked to accept the JetBrains Privacy Policy, select I Agree here and move on.
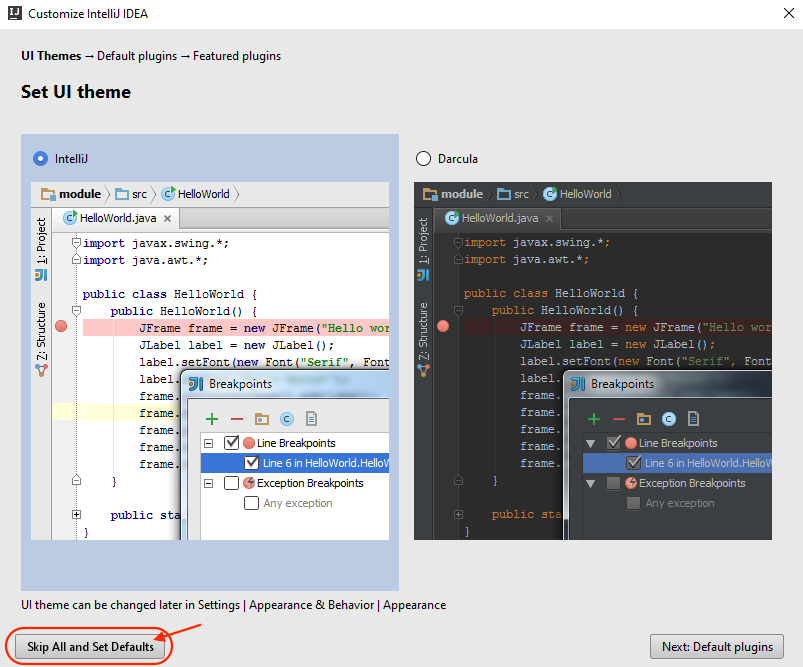
And finally, you'll be asked to complete the installation by selecting if you want any custom user interface (UI) components for IntelliJ, again we will be using the default settings, and recommend that you select Skip All and Set Defaults.
Congrats! Now you’re ready to use IntelliJ to write Java programs!